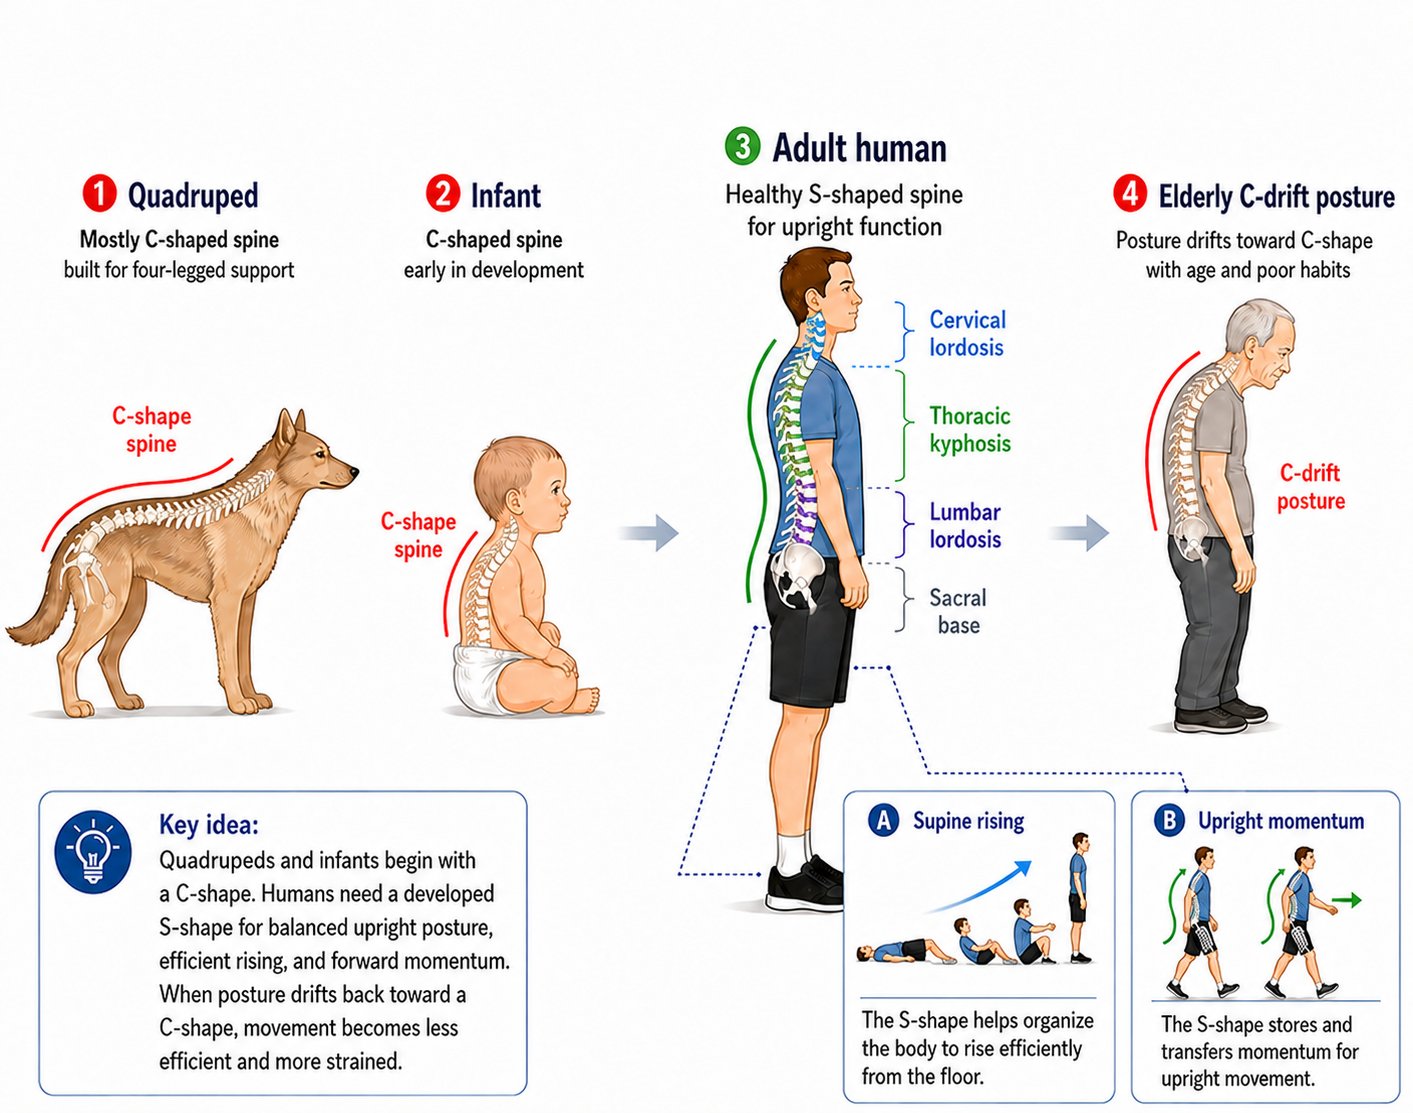

Exposure mapping, Chapter 7 of my book Spinal Fitness, scores the tasks of a job on 7 exposure domains, each from 0 to 3, to find the 2 or 3 exposures that push a worker’s posture into disadvantage. An exposure, in the book’s definition, is any repeatable demand that changes spinal shape or increases internal force requirements. The method maps the pattern of loading behind an injury instead of the single event that triggered it.
The core rule: fit-for-task without blame
Fit-for-task in this system means matching the exposure profile of a role with the current posture and capacity profile of the worker; it is about keeping people at work, not removing them from it. When the match is poor, the worker compensates, and that compensation accumulates until something breaks. Chapter 7 defines recovery by function: a worker who returns to full duty because pain decreased may still be mechanically vulnerable, and recovery is defined by function, not merely by comfort.
The 4 steps of a map
Step 1: pick 1 job title or 1 shift and list the 5 to 10 tasks that occupy most of the day, using real-world observation instead of the job description. Step 2: score each task from 0 to 3 on the 7 domains below. Step 3: identify the top 2 or 3 exposures that consistently drive compensation, especially those that shift the center of mass forward of the hips. Step 4: assign a dosing track.
The 7 domains are spinal position load, meaning flexed, extended, rotated or side-bent and for how long; reach pattern, with the arms forward, overhead or behind the body; head and neck demand, including forward head posture, scanning, screen time and helmet or protective equipment weight; ground reaction and vibration from driving, equipment or hard landings; load and leverage in lifting, carrying, pushing and pulling, including the distance of the load from the body; tempo and recovery, meaning pace, micro-break availability and the ability to reset posture; and psychosocial pressure from time pressure, understaffing and high-consequence errors.
The 3 dosing tracks
Track A is basic prevention for all staff: a daily micro-dose at the workstation or in a brief group session, focused on the cervical micro-dose, a lumbar curve reset and end-of-shift decompression, for 5 to 10 minutes total per day. Track B is for high exposure, including warehouse, healthcare, field and high-mileage driver roles: all of Track A plus the Pelvic Tilt with resistance, progressive Sit-Up range and density, and guided Back Trac rolling, for 10 to 20 minutes per day. Track C is recovery and return to work after a recent injury, with chronic guarding or with severe curve loss: a supervised, low-irritability protocol that starts with the softest fulcrum and minimal range, puts decompression before any active correction, and progresses by form and comfort instead of by schedule.
3 role templates from the book
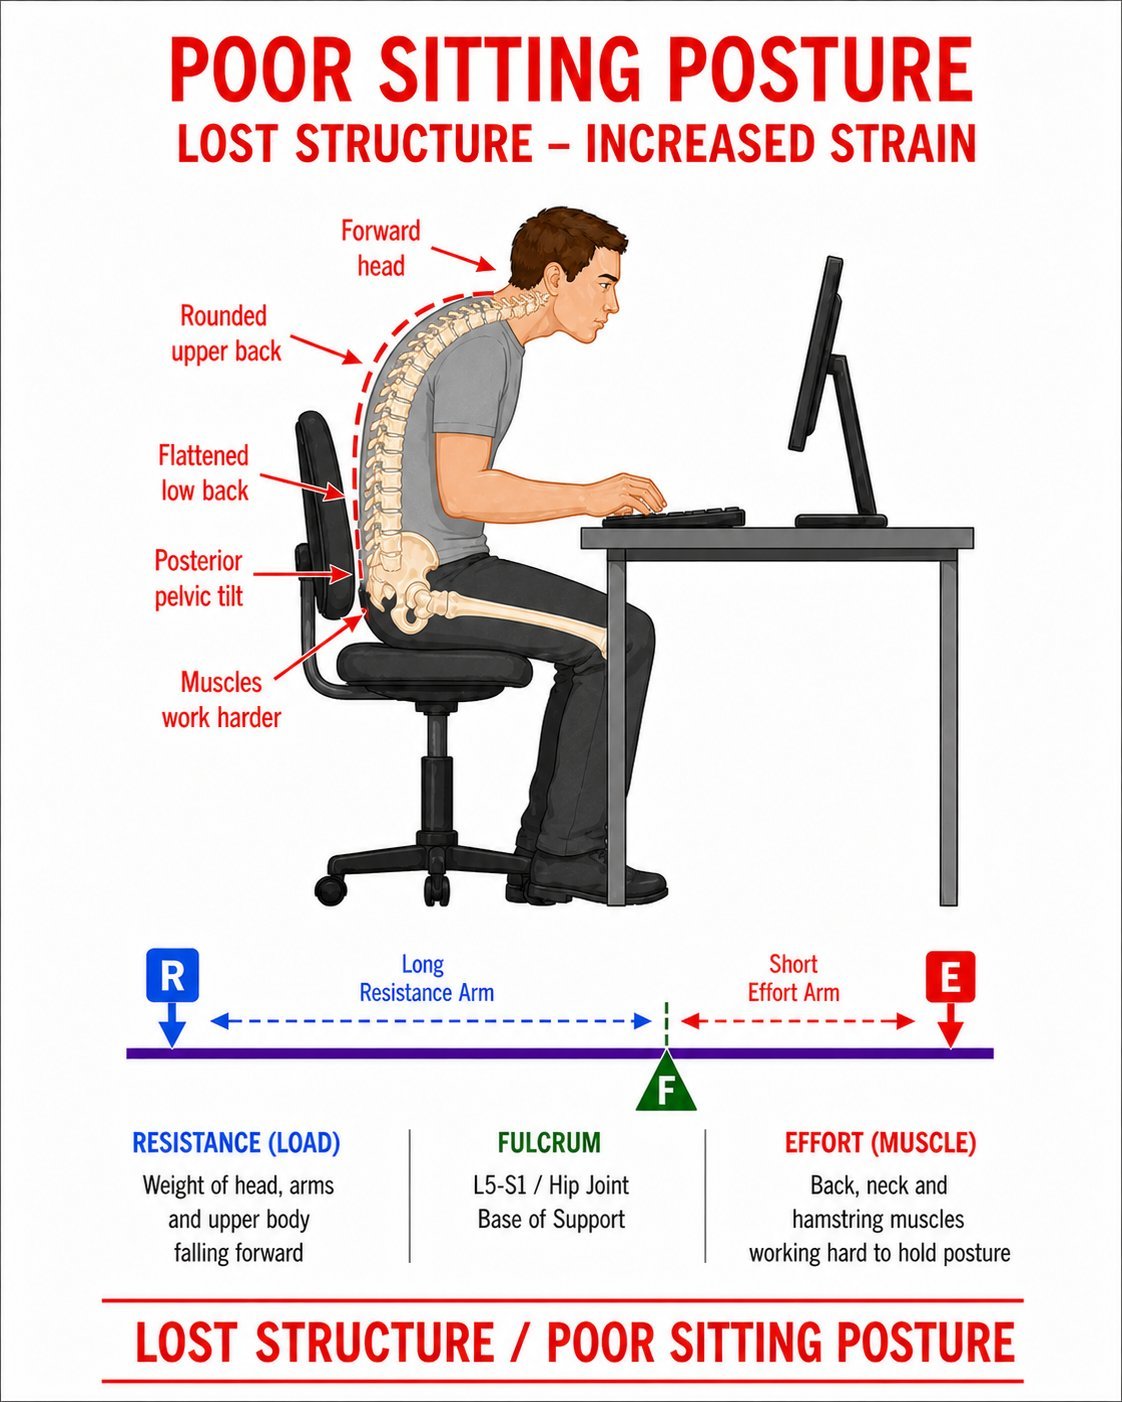
Desk and screen teams: forward head posture, thoracic flexion and long static sitting, with cervical micro-dose training, seated posture resets and regular breaks to restore the lumbar curve as the high-leverage interventions. The Desk Standard sets micro-breaks of 10 to 30 seconds every 45 to 60 minutes: 2 to 3 Neck Flexion reps, standing and a brief walk, and a rib-over-pelvis reset. Driver roles: a sustained pelvis-tucked posture, vibration, limited rotation and screen scanning, with cervical training at stops, lumbar support during driving and curve restoration at route transitions. Warehouse and field workers: repetitive flexion and extension, rotation under load and carrying at a distance, with pre-shift posture priming, mid-shift curve maintenance and an end-of-shift decompression protocol.
Why the map starts with injury mechanics
Chapter 7 sets out the rehabilitation logic behind the tracks in 3 steps: stop the harmful activity, stabilize the injured part, and use constructive exercise to restore proper structure and function. The absence of pain does not mean the tensile strength of the tissue has returned, the joint is stable or the spinal curve is back, and Chapter 7 states that pain reduction alone is not restoration. Exposure mapping is the tool that identifies which demands keep re-provoking the same tissue.
Putting a map to work in 90 days
Chapter 10 turns the map into a 90-day company rollout in 4 phases. Set Up, days 1 to 14: choose 1 or 2 pilot teams, train the trainers on cueing language, stop signs and track assignments, set the micro-dose standard, and capture baseline injury and complaint trends with the first round of screens. Launch, days 15 to 45: screen every pilot participant, assign tracks, run the micro-dose standard at shift start and 1 mid-shift break, and collect a weekly 30-second self-report on fatigue and comfort. Scale, days 46 to 75: review pilot outcomes, expand to more teams, begin track progressions, and give new hires a screen and Track A on day 1. Embed, days 76 to 90: run the first formal progress screen against baseline, report leading indicators first, name peer Champions and set a 6-month review calendar.
The minimum toolkit is a Spinal Fitness trainer with a documented cueing standard and progression rules; the PowerCushion with Neck Shaper and Back Shaper rolls in starter densities and diameters; 1 dedicated reset corner per site or department; and a 1-page screen scorecard with a weekly participation log. Screening identifies mechanical risk patterns and training needs, and return-to-work decisions stay with medical providers and company policy. In every track, pain, numbness, tingling and dizziness are signs to stop, get evaluated, and then proceed with a therapeutic exercise program designed by a Spinal Fitness expert.
Keep Exploring
This article is for educational purposes only.