
If you have ever watched someone use a foam roll and wondered whether it could help your back, the answer is very likely yes — but how you roll matters far more than most people realize. Used correctly, a firm foam roll does something remarkable: it helps restore the natural curves of your spine, releases the tension your postural muscles accumulate all day, and gives your discs the gentle movement they need to stay nourished. Used incorrectly, it becomes just another gadget in the closet.
This beginner’s guide walks you through how to start foam rolling for spinal alignment — the same principles Eileen Durfee teaches through her Spinal Fitness system.
Why Rolling Your Spine Works
Your spine is built around three natural curves: the cervical (neck), thoracic (mid-back), and lumbar (low back). Modern life — desks, screens, car seats — flattens some of these curves and exaggerates others. Because your intervertebral discs have no direct blood supply, they depend on movement and proper loading to absorb nutrients and stay hydrated.
A foam roll placed along or across the spine does two things at once. It provides a fulcrum that encourages compressed segments to extend — gently reversing the forward-flexed posture most of us live in — and it stimulates circulation in the muscles that support each vertebra. Over time, this combination helps restore the alignment your body was designed for.
Starting Position: The Basic Roll
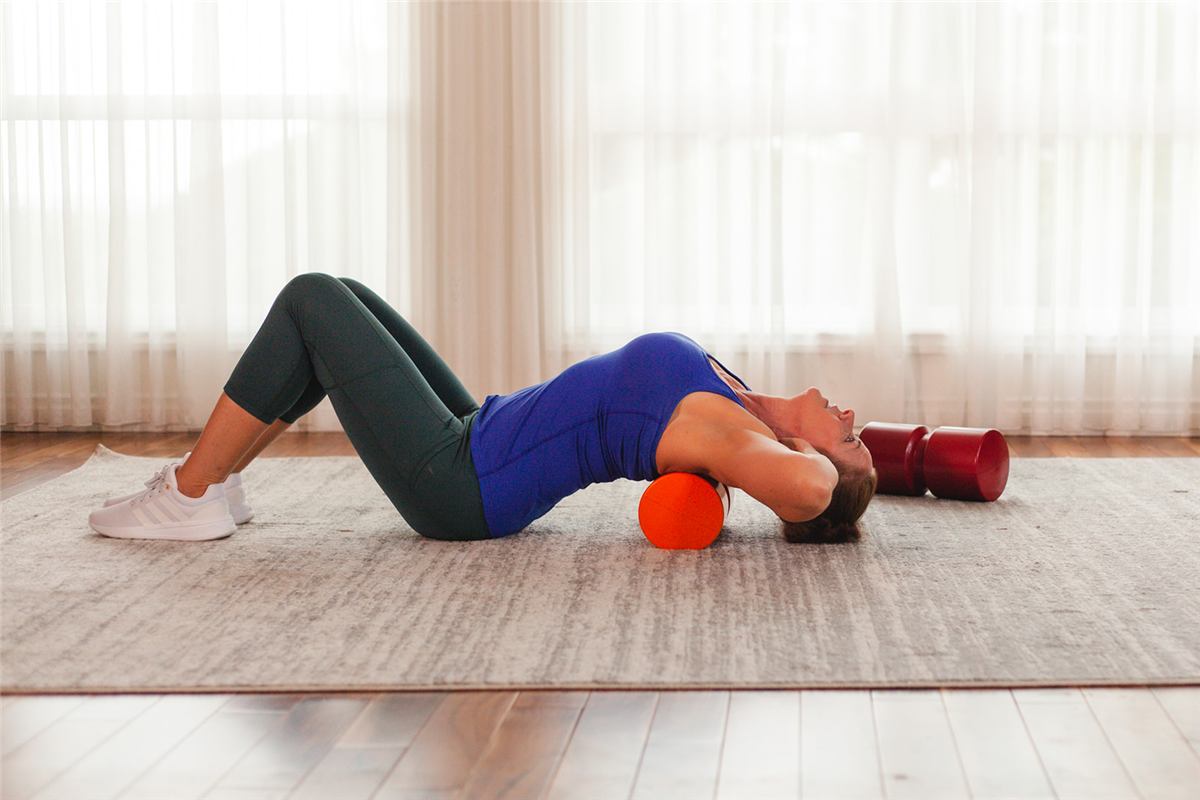
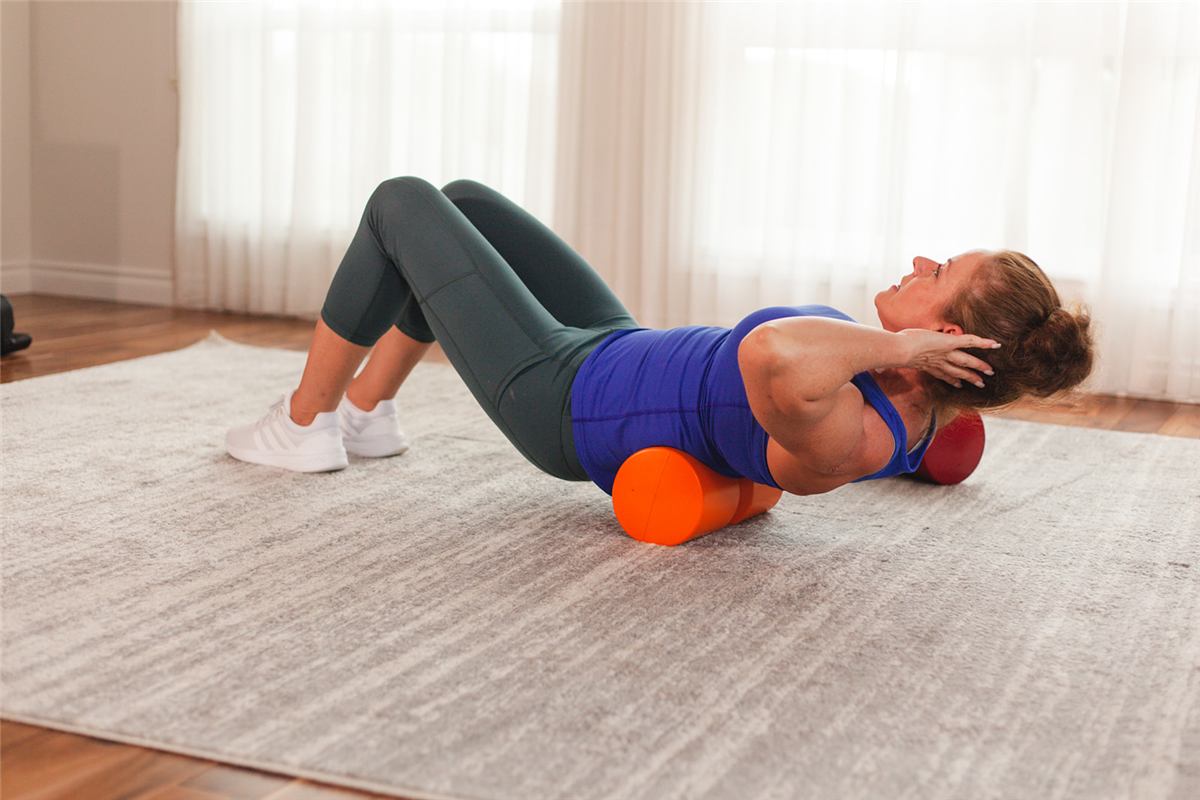
Begin on a carpeted floor or exercise mat with a firm roll placed horizontally under your mid-back, right at the bottom of your shoulder blades. Bend your knees, keep your feet flat, and support your head lightly with your hands.
From there:
- Breathe and settle. Let your body weight relax over the roll for 20 to 30 seconds. You should feel a stretch across the front of your chest — that is your thoracic spine beginning to extend.
- Move slowly. Using your legs, roll yourself an inch or two so the roll travels up your spine, pausing wherever you feel tension. Avoid rolling the neck or the low back directly in the beginning — work the mid-back first.
- Keep sessions short. Three to five minutes daily produces far better results than twenty minutes once a week. Consistency, not intensity, restores alignment.
Why I Manufacture Foam Rolls in Five Diameters and Three Densities
Here is something I learned the hard way, first as a patient rehabilitating my own spine and then as the person machining the molds: the roll that restores one person’s curve can be completely wrong for the next person. That is why, when I began manufacturing spinal foam rolls for my Spinal Fitness system, I refused to make one size.
The geometry is the whole game. A spinal curve is an arc, and the roll is the template that arc rests on. A petite woman who has lost most of her neck curve needs a small-diameter roll that her cervical spine can actually drape over; put a large roll under that same neck and it props the head up without extending anything. A tall man with a rigid mid-back needs more diameter and more firmness to create any fulcrum at all. Density matters just as much: a roll that is too hard for your current spine makes you brace against it — and a braced muscle cannot release — while a roll that is too soft flexes away from exactly the segments that need encouragement.
So the Neck Shaper and Back Shaper lines run in quarter-inch diameter steps, each in soft, medium, and hard densities, and the six-inch Back Trac covers the larger thoracic work. The progression I teach is to begin with the softer density that lets you fully relax over the roll, then graduate firmer as your spine adapts — the same way you would progress weight in strength training. If you are not sure where to start, the sizing kit exists precisely because “medium, I guess” is not a measurement.
The Neck Plays by Different Rules
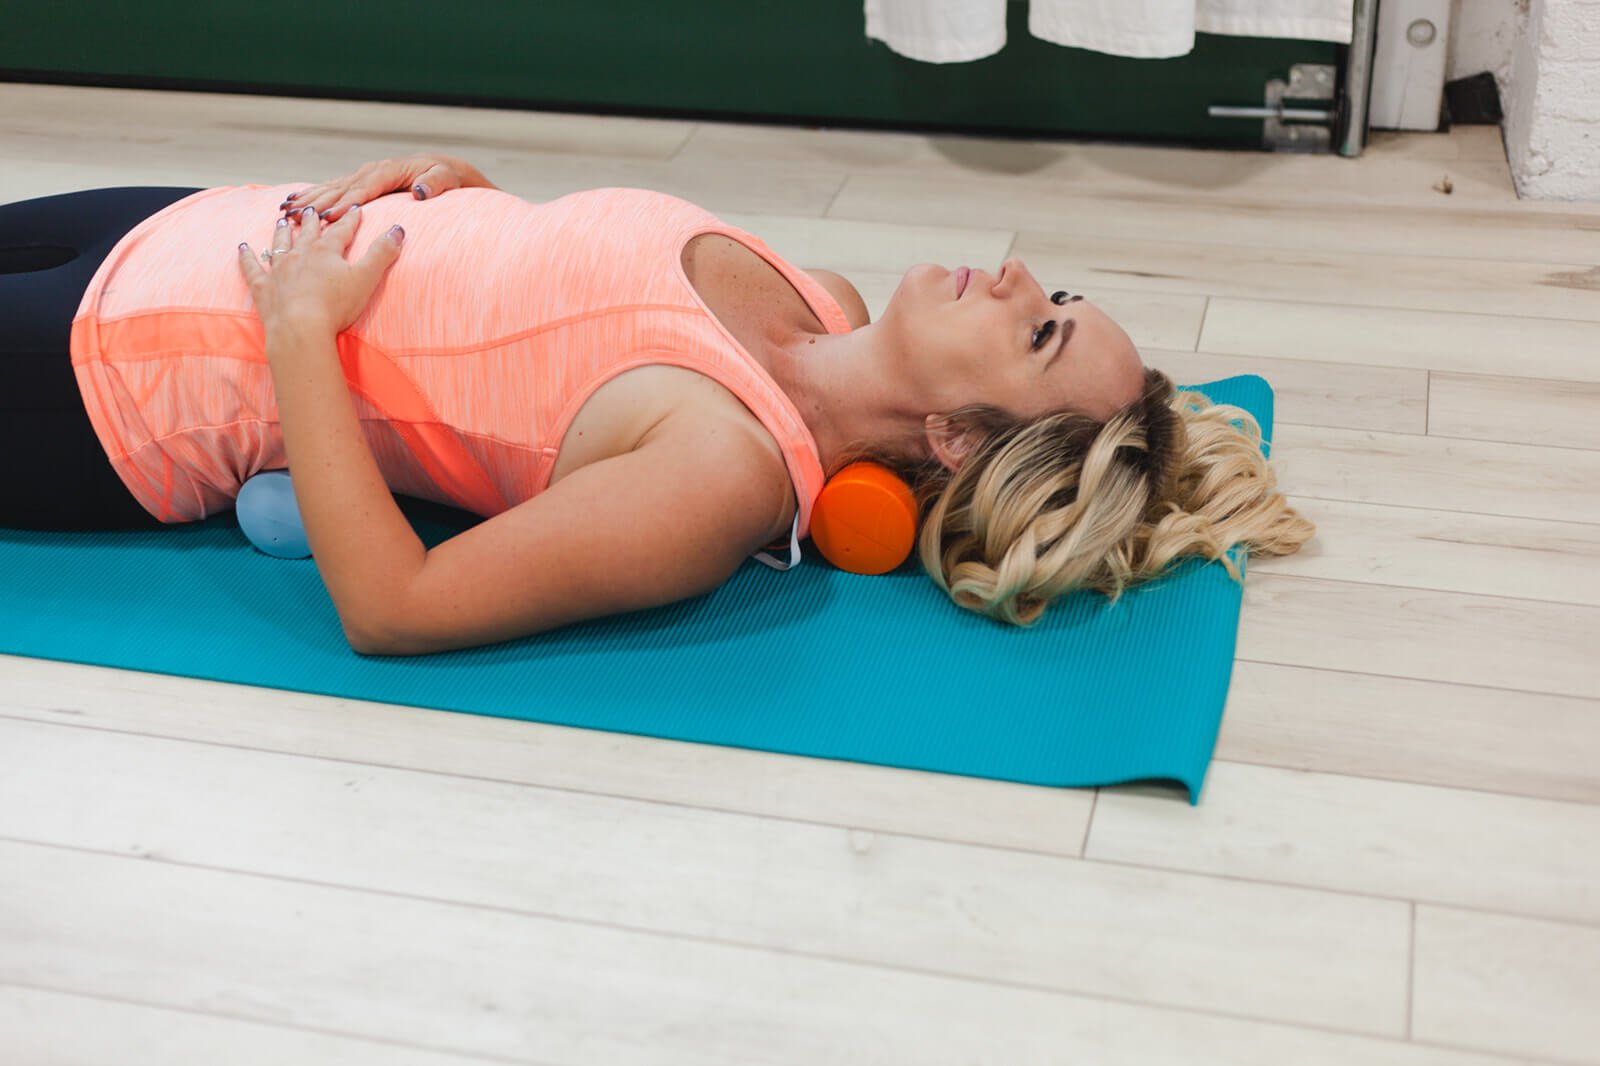
The cervical spine deserves its own paragraph, because it is where beginners most often go wrong. Your neck’s curve is smaller, its vertebrae lighter, and its muscles far easier to overwhelm — so never take the big roll you use on your mid-back and put it under your neck. Cervical work uses a small-diameter roll placed crosswise under the curve of the neck while you lie relaxed, letting the weight of the head — nothing more — coax the curve back. A few unhurried minutes is plenty. Done gently and consistently, this is some of the most rewarding rolling there is, because the neck is where screens have taken the greatest toll.
Three Beginner Mistakes to Avoid
Rolling too fast. Quick back-and-forth rolling feels productive but gives your muscles no time to release. Slow, patient pressure with full breaths is what changes tissue.
Using a roll that is too soft. A squishy roll flexes away from exactly the segments that need encouragement. A firm roll — sized correctly for your body — delivers the fulcrum effect that makes spinal extension work.
Ignoring pain signals. Mild discomfort that eases as you breathe is normal. Sharp, radiating, or lingering pain is not — stop and let a professional take a look. If you have osteoporosis, a disc herniation, or a recent spinal injury, your provider can help you shape a rolling program that works with your situation rather than against it.
How Often Should You Foam Roll?
Daily, briefly. The tissues you are retraining respond to frequency, not heroics — three to five minutes every day beats a long weekly session by a wide margin. Many people anchor it to an existing habit: over the roll while the coffee brews, or as a wind-down before bed, when extension work also helps unwind the day’s sitting. Expect the timeline to behave like any retraining: the release you feel is immediate, while measurable postural change builds over weeks to months of consistency.
Rolling and Radiant Heat Work Well Together
One pairing worth knowing about: gentle spinal work inside a near infrared sauna. Warm tissue releases more readily than cold tissue, and a radiant sauna warms muscle from within while you work. Eileen designed a hot exercise sauna configuration around exactly this practice, and the near infrared light article explains why the heat source matters. It is entirely optional — the floor of your living room works — but if a sauna is already part of your routine, the two practices compound.
Building Toward a Complete Spinal Routine
Foam rolling is the entry point to a bigger picture. As your mid-back regains extension, the next steps are restoring your neck’s curve and retraining the deep postural muscles that hold your alignment automatically — first mobilize, then strengthen, so the new position becomes the default your body maintains without thinking. That progression — decompression, curve restoration, then retraining — is the heart of the Spinal Health & Biomechanics pillar, and Eileen’s exercise guides, like the neck strengthening program, pick up where the roll leaves off.
Start slow, stay consistent, and let your spine relearn the shape it was meant to hold.
Frequently Asked Questions
Is it normal to hear pops or cracks while rolling?
Occasional painless popping — the same joint cavitation as knuckle cracking — is common when stiff segments start moving again and is not a goal or a problem by itself. What you are after is the slow release you feel as you breathe, not the sound effects. Pops accompanied by pain are a signal to stop and get assessed.
Foam roll or massage gun — which is better for posture?
They do different jobs. A massage gun relaxes muscle locally but provides no fulcrum, so it cannot encourage a compressed spine to extend. The roll is a postural tool: it uses your body weight and geometry to restore shape, not just relieve tension. Use a massage gun for sore muscles if you like it — use the roll for alignment.
How long before my posture actually changes?
Most people feel looser after the first session and notice sitting taller within a few weeks of daily practice. Structural change — a visibly restored curve — is a months-long project, the same timeline as building strength. The encouraging part: the daily investment is only a few minutes.
Can I foam roll my lower back?
Not the way you roll your mid-back. The lumbar spine lacks the rib cage’s protection, so aggressive direct rolling there tends to make muscles guard rather than release. Beginners get better results working the thoracic spine and hips first — the low back usually feels dramatically better once its neighbors move well. Targeted lumbar work is best learned with guidance, and the low back exercise program covers safe progressions.
What should I feel during a session?
A firm, satisfying pressure that eases as you exhale — the kind of sensation you instinctively breathe into rather than away from. A stretch across the chest during mid-back work means the extension is happening. Numbness, tingling, or sharp pain mean reposition or stop; your body’s signals outrank any protocol.
Keep Exploring
This article is educational — written to help you start well and know what good practice feels like. A qualified professional can help you tailor any of it to your own spine.